 In my prior post, Working with Foam Core, we looked at the On30 Bakersville layout I had started two years ago. Since pulling off the shelf again I have begun working towards completion (albeit very slowly and in between other projects). In this update I add the sides and the backboard to the layout. The entire layout is built on a 20 x 30 piece of foam board that I picked up from Hobby Lobby.
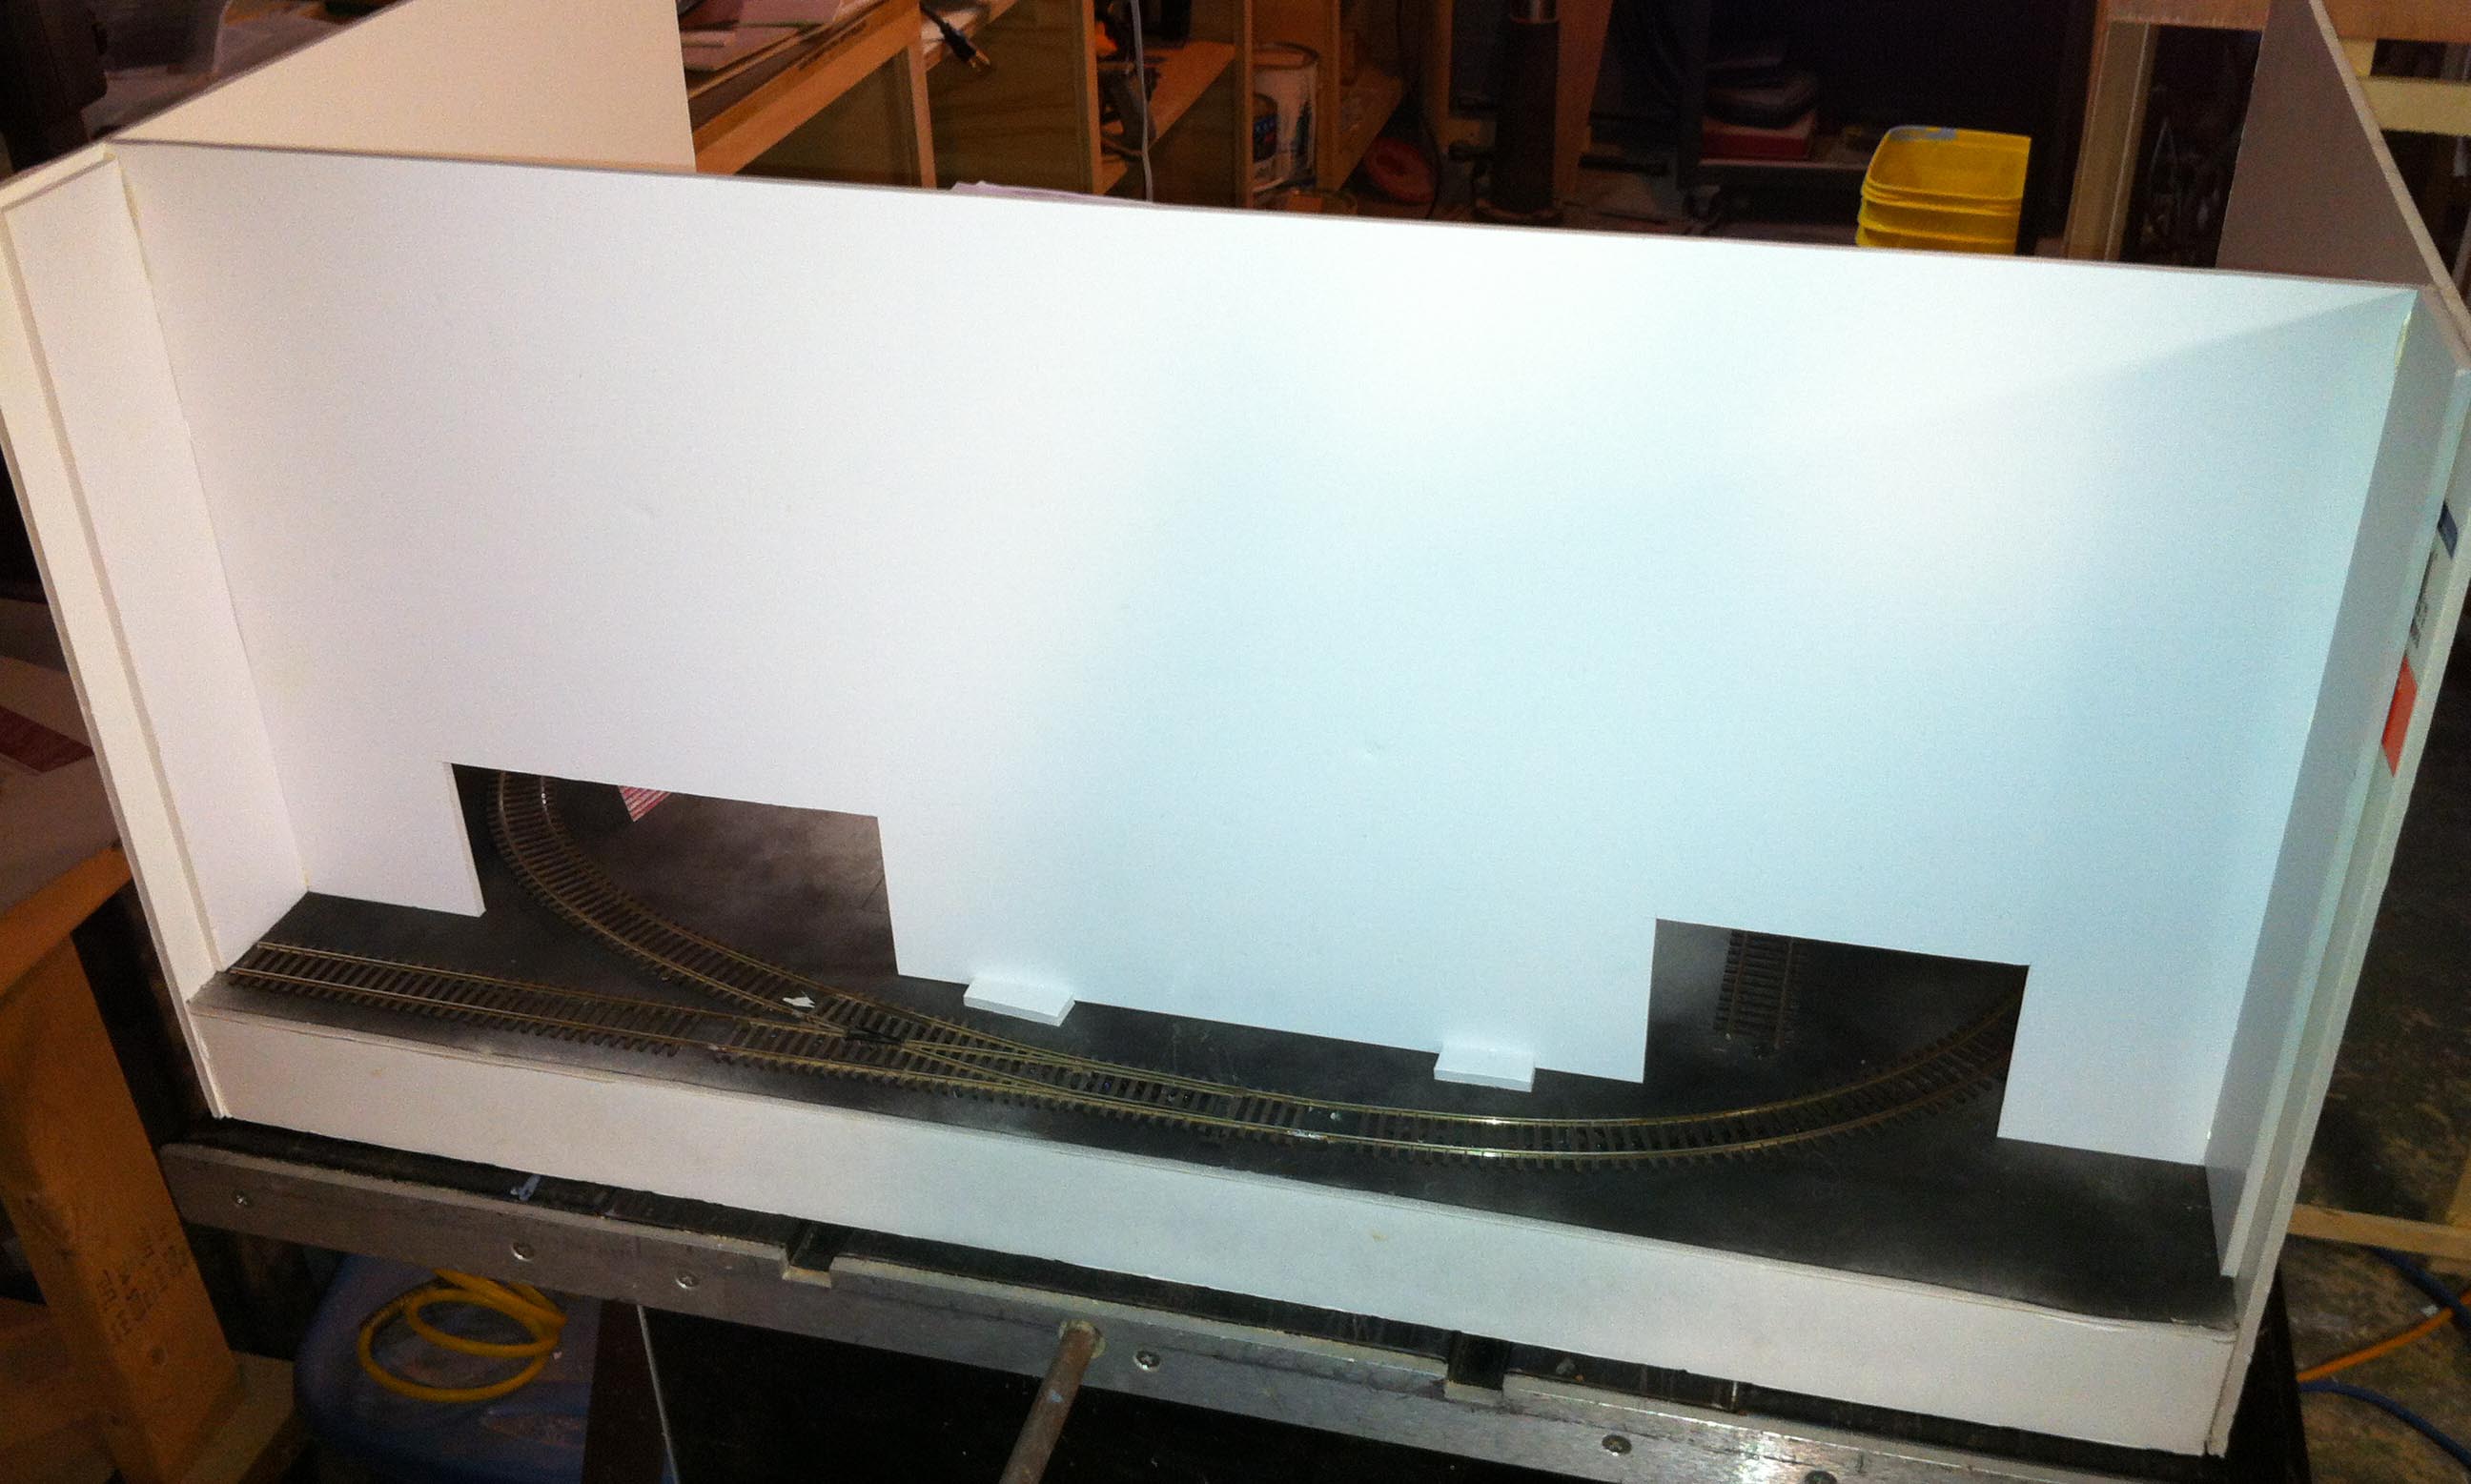
I cut the sides from a single piece of 20 x 30 foam board to make two matching 15 x 20 inch pieces. I attached each piece to a side using hot glue. Be very careful of the glue gun as any part of the tip is very hot and will cause a very bad burn (I can show you how I know this). I also recommend placing the gun on a scrap piece of board as it tends to drip.
Before gluing anything, test fit all pieces. hot glue sets up fast so you will not have much time. I arranged everything within easy reach and went through the motions of how the assembly would go before I actually applied the glue. To attach the side I added the glue to the base and then pressed the Foam board side into the glue. I had to use a fair amount of pressure as the glue is thick and I wanted everything as flush as possible. After about 1 minute the glue had cooled enough to hold everything in place. i then repeated the process for the other side.
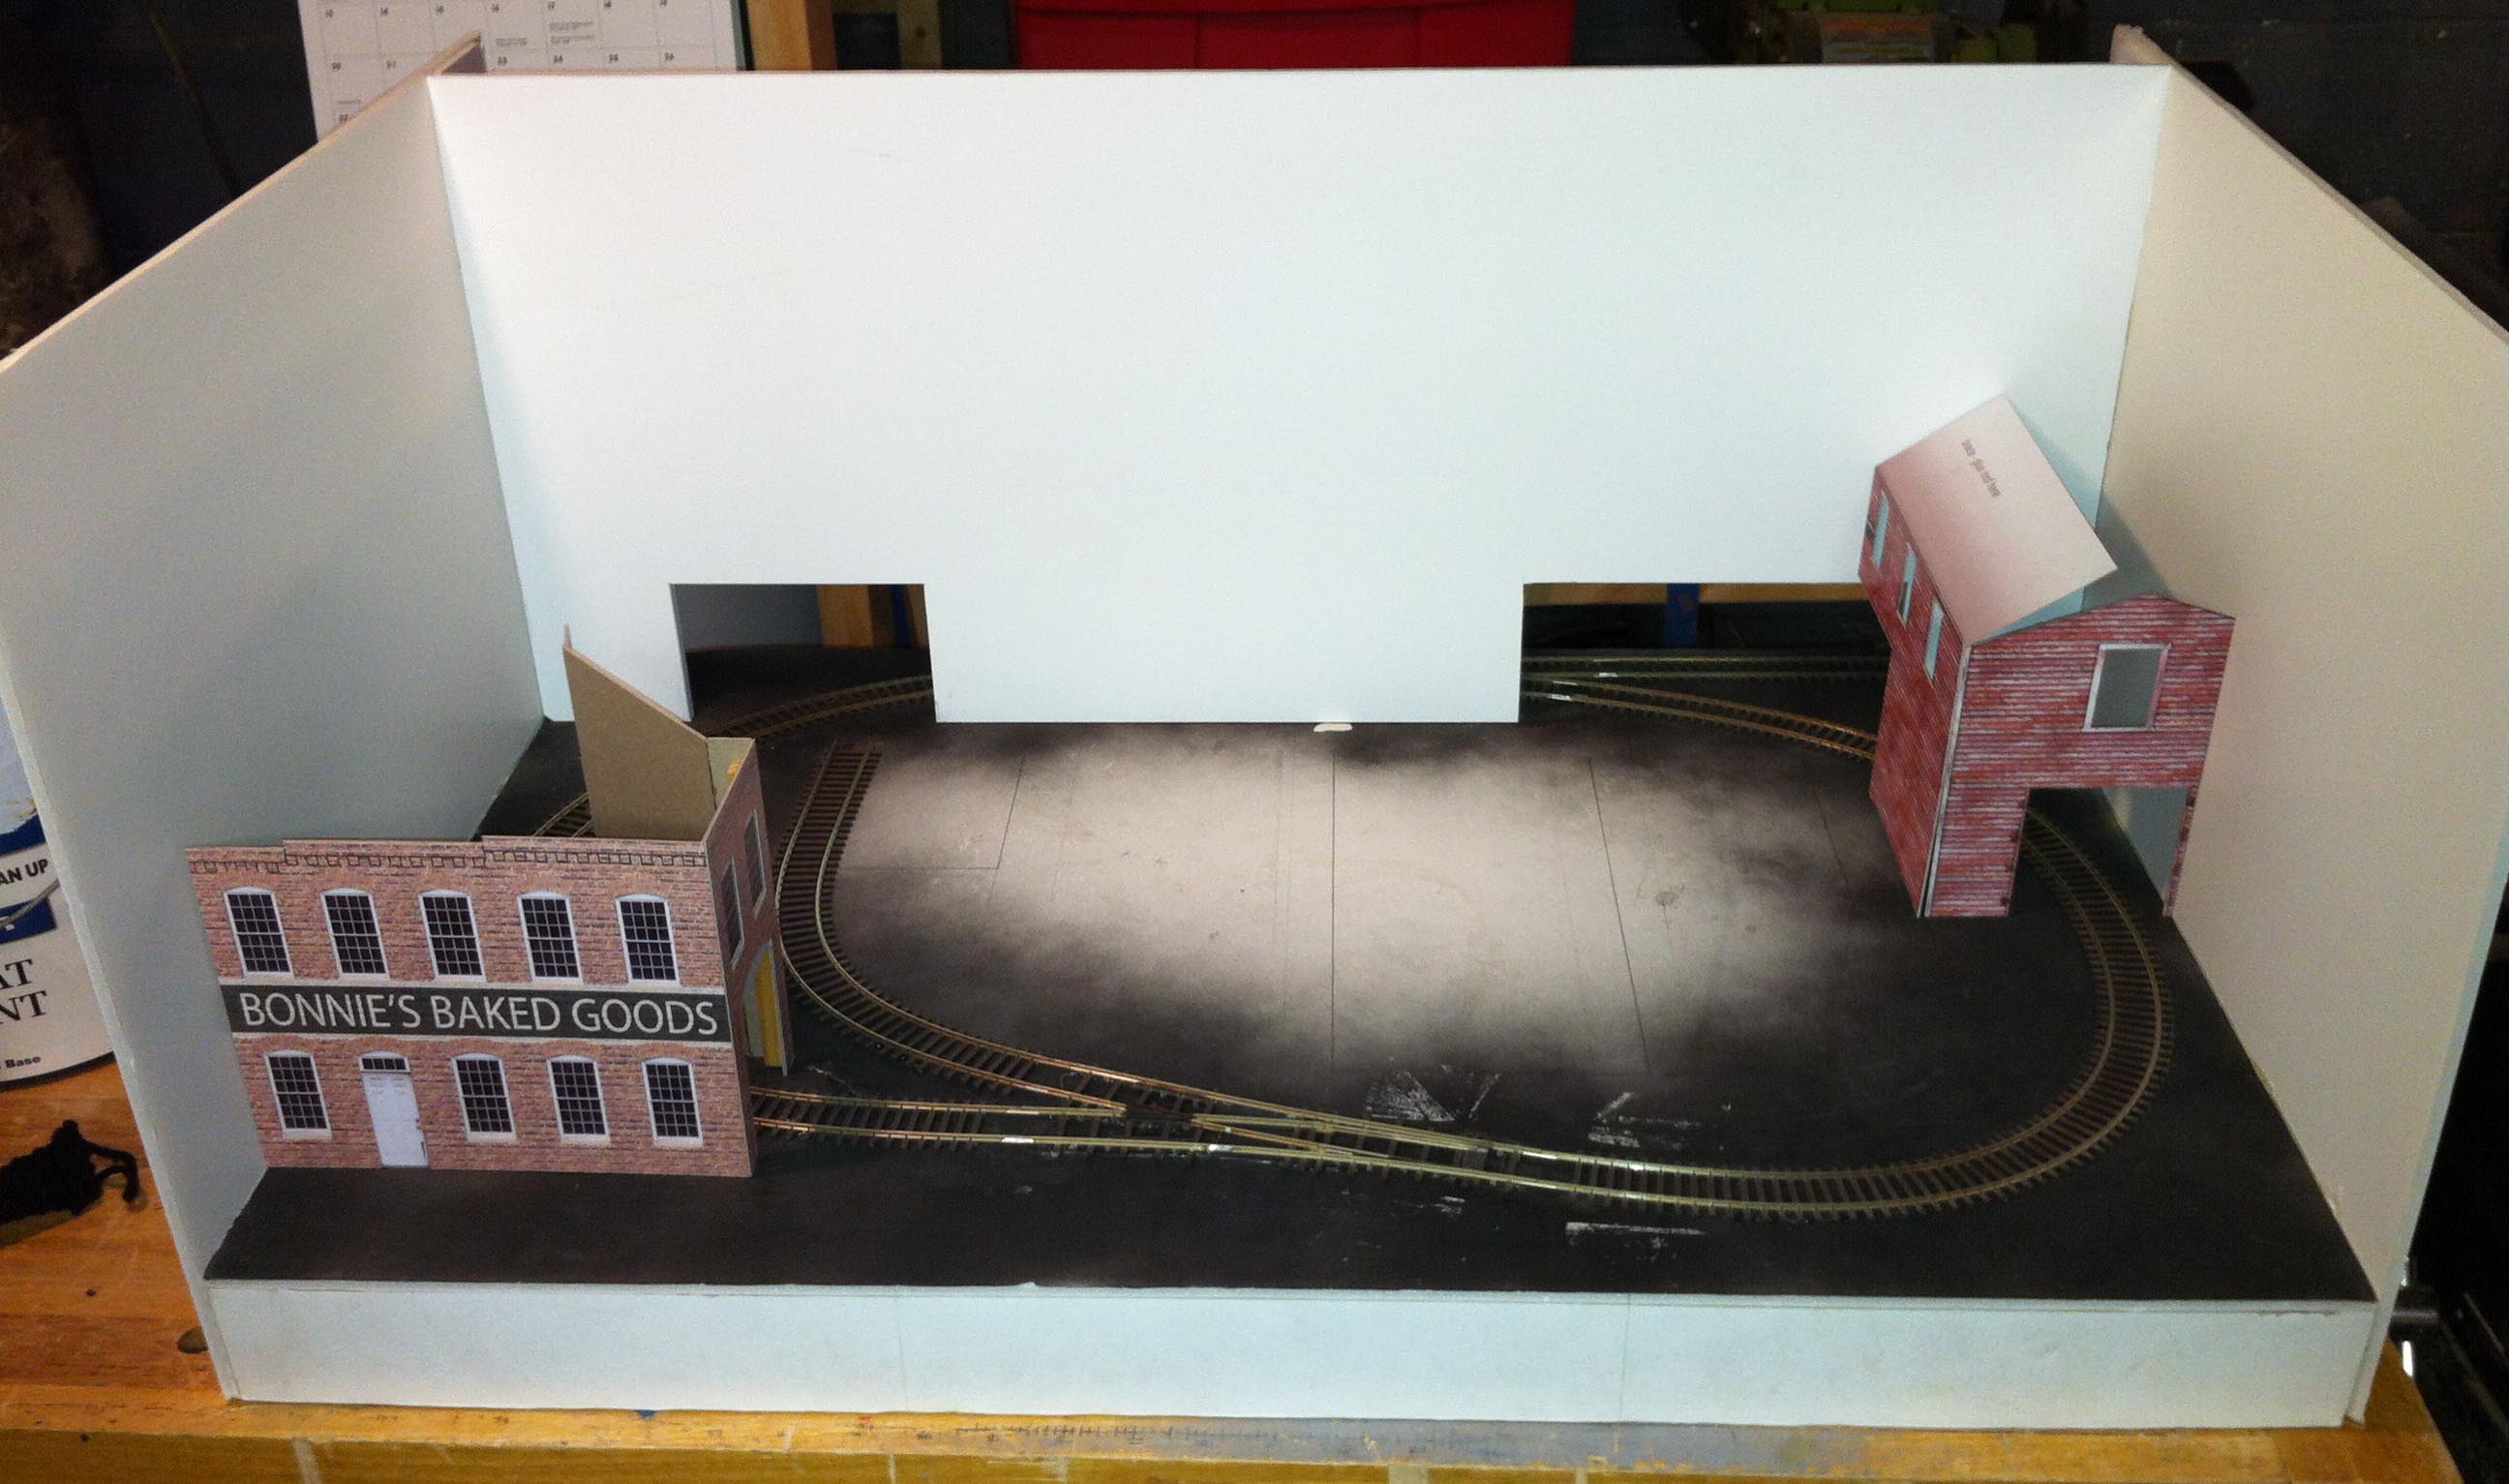
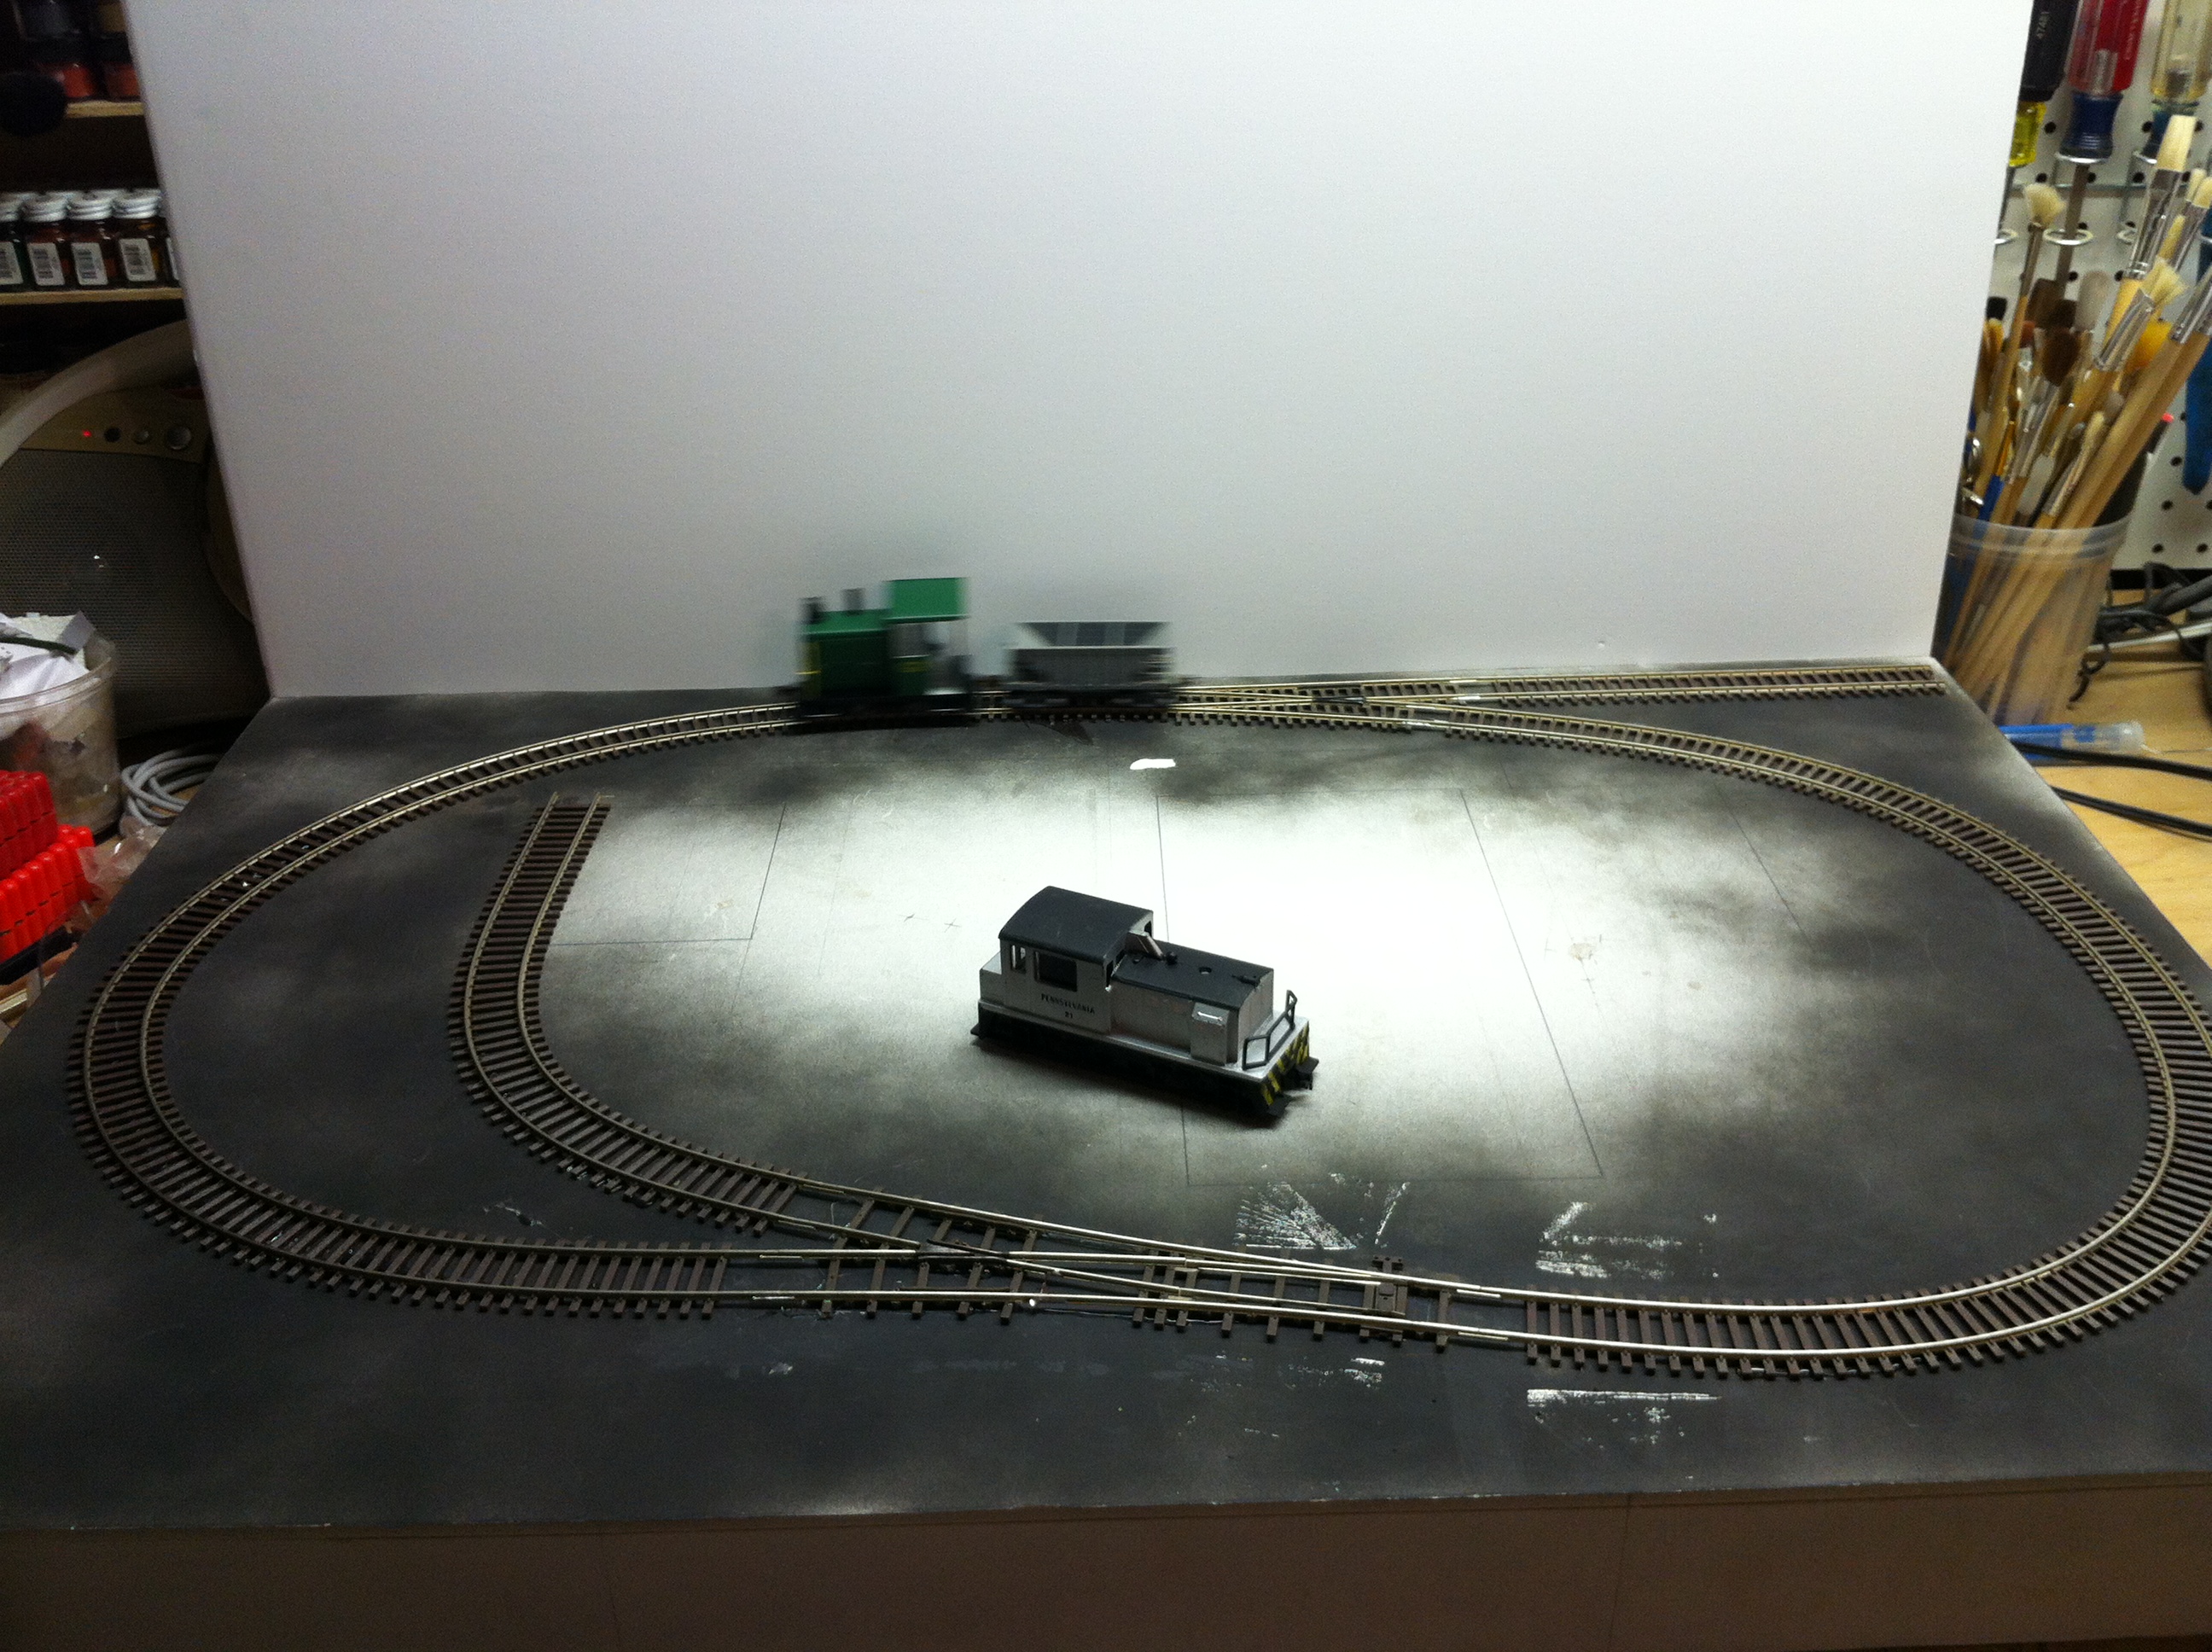
The layout has a turnout and small track in the back to act as a fiddle yard. The back board will need to be in front of this track. Openings needed to be cut to allow room for the train to pass through. I cut another piece of foam board to size (3 inches shorter than the sides because it is on top of the layout base). I measured the height of the locomotives I intend on using and decided 3 inches was sufficient clearance for anything I planned to run on the layout. For the opening widths, I placed the background in position and marked in pencil the approximate opening widths based on where the track intersected the board. I cut the openings, test fitted the back and ran train to check clearances. After a few more cuttings and tests, the back was ready.
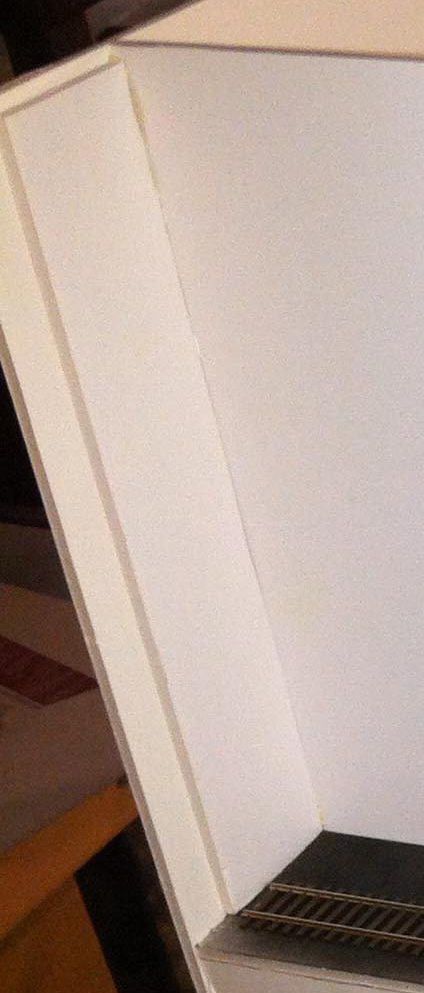
A single piece of foam board will bow after time if there is no support for it. Even these “‘new” pieces were not perfectly flat. to install the back as is would require gluing with butt joints. This is not an accurate way to ensure things are straight when glued and ensure they stay that way. To fix this problem I cut some long 2 inch wide strips to act as backing for the joints I marked a line on the side where the joint would be and then glued the strips along this line. Once completed I was able to glue the back, one side at a time, into this joint creating a very strong, accurate and flush joint.
Since the bottom edge was not glued and could still move a little, I added a couple small pieces of foam to the bottom edge in a similar manner to the side strips.

With everything together, I could not resist placing some of the building mock-ups to test the look and feel of the layout. So far so good, I think this could end up being one of my favorites!